ModCloth

Tuesday, January 6, 2015

Adding Bugs To Science

While browsing Etsy, many moons ago, I ran in to this great little shop called 

Obviously, I immediately fell in love with the butterflies! In fact, the first item I 'favorited' was the large butterfly terrarium for weddings. There are so many different species, colors and beauty in just the butterflies alone!

BUT, that's not why we are here! No, no! We are here to share our first purchase. One of many to come since it was such a big hit. 

Are you ready??? It may be scary.......


The Horned Beetle!


The Horned Beetle was my first pick as a Christmas present, inspired by one of our favorite movies, 'A Bug's Life.'


Big C LOVES him! Telling me, and anyone who will listen, everything he learned about this guy from the included information pamphlet. 

I have to say, I learned a few things too....


My favorite part, besides the learning, was how he arrived to us. All packaged neatly with his little attachments and decorations.


It was *lots* of fun creating his home for him.


And now he sleeps with Big C, in the corner of his bed, always in a cool dark place ;)

We have already gone through The Amateur Naturalist site together and picked out our next bug!!

I definitely recommend these terrariums for any nature enthusiast, someone who likes bugs, for learning at home, or just because it's pretty cool to have bugs!

Thursday, January 1, 2015

It's a New Year ~ GIVEAWAY!!

Welcome to 2015 everyone!!

Let's start the New Year with a new blog post & why not a *GIVEAWAY* while we're at it!
(Open to US residents ONLY!)


The hooded towels were my hottest item last year, so I've decided to do a giveaway featuring them.


**ANY** hooded towel is up for grabs.
(ONE towel per winner!)


I have made entering the giveaway pretty easy...... at least I hope so :)

There are 5 ways to enter, each one equals 1 (ONE) entry.

That's 5 chances to win!!


Here's how to enter:

1. Comment on this blog post.

(If you already "like" the page, you're automatically entered!)

3. Like the Facebook post about the giveaway.
Found here!!

4. Comment on the Facebook post about the giveaway.

5. Share the Facebook post about the giveaway.
(Make sure you share the *original* Facebook post to receive your entry!)


The giveaway ends on January 14, 2015 @ 11:59 PM Pacific.

2 (TWO) winners will be chosen and contacted on 
January 15, 2015.

Good luck & HAPPY NEW YEAR!!

Wednesday, November 26, 2014

QAYG - Pillow Cover

I have finally finished my newest pillow cover!!


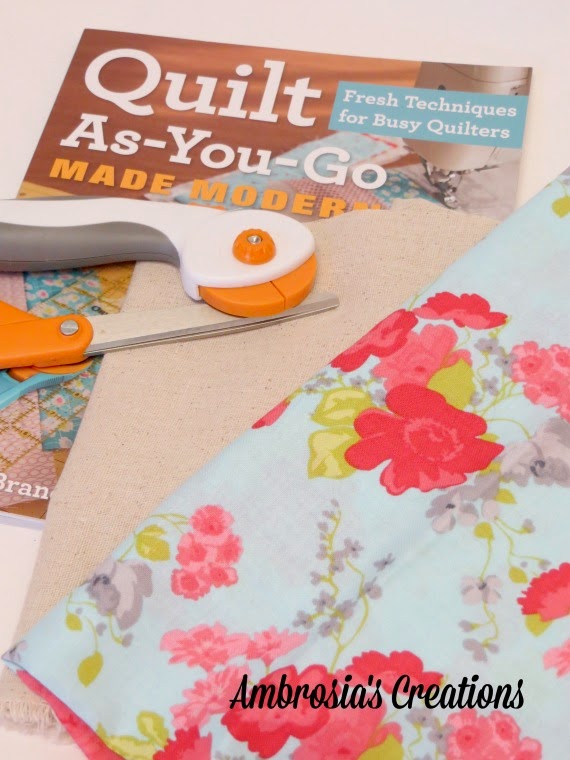
After purchasing Jera Brandvig's, 'Quilt As-You-Go Made Modern', for my numerous quilting projects *and* reading it all the way through the day I got it..... I felt the urge to do a quick little project.


{Got my supplies and am ready to create!}

Even though I have already tried a few of her tutorials on Moda Bake Shop, there was a bunch of new things I learned in her book. 
Thankfully, she had a pillow cover project in there. Short and sweet, before I tackle the big stuff.

{Front and back of pillow cover top.}

I used a different layout than her pillow cover in the book, but how the star was pieced together with the QAYG technique is in the book as well.

{Front and back pieces sewn together. You can see the piece-by-piece quilting done on each square.}


It was a lot of fun to try something new and I can't wait to use this for all my quilting needs. The technique is extremely helpful for the limited amount of space, not to mention, the limited amount of time I have in a day. 

Get your own 'Quilt As-You-Go Made Modern' book from Jera Brandvig today!!
For a *signed* copy from her Etsy shop, click HERE


** This post contains affiliate links. **


Friday, November 14, 2014

Fall Kids Craft

While going through my fall tote, I found some kid activities that I got on *super* clearance last year from Michaels.

I like getting things when they are ridiculously cheap...... I mean, who doesn't??

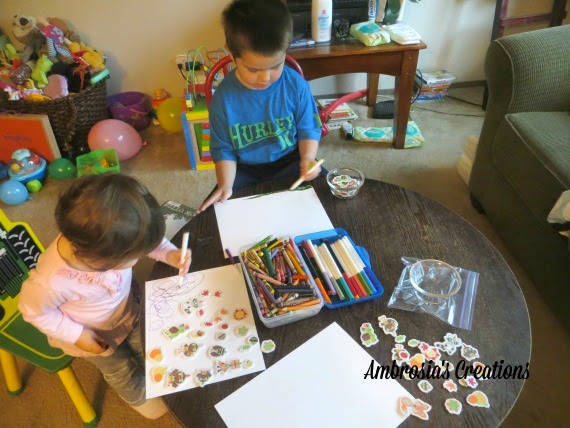
So, when a chilly day occurred with construction workers digging up the road, leaving us no way to leave, I decided to put these fall harvest foam stickers to use with the kids.


Using white card stock paper, markers/crayons, the foam stickers and a little imagination, we started creating little scenes.

{I love that they love being creative <3}


After much deliberation and story telling, we finally finished our scenes and put them on display on the back door.
** Pardon the poor pictures :/ **

Big C's amazing creation!!
He said they are having a picnic and it is sun raining!! It does that often here.... the raining bit.


Little C's beautiful creation:


And, of course, Mom had to join in on the fun!!


This is a great project for any day and any season. We had fun telling stories about what our characters were doing and what our drawings were going to be. Great for the imagination!!

Try it out this weekend before Thanksgiving, or get some Christmas themed ones....I spotted them in the store yesterday during a yarn run!  :)

Happy Friday Everyone!!


** This post contains affiliate links. **

Tuesday, November 11, 2014

Scavenger Hunt Turned Sun Catcher!!

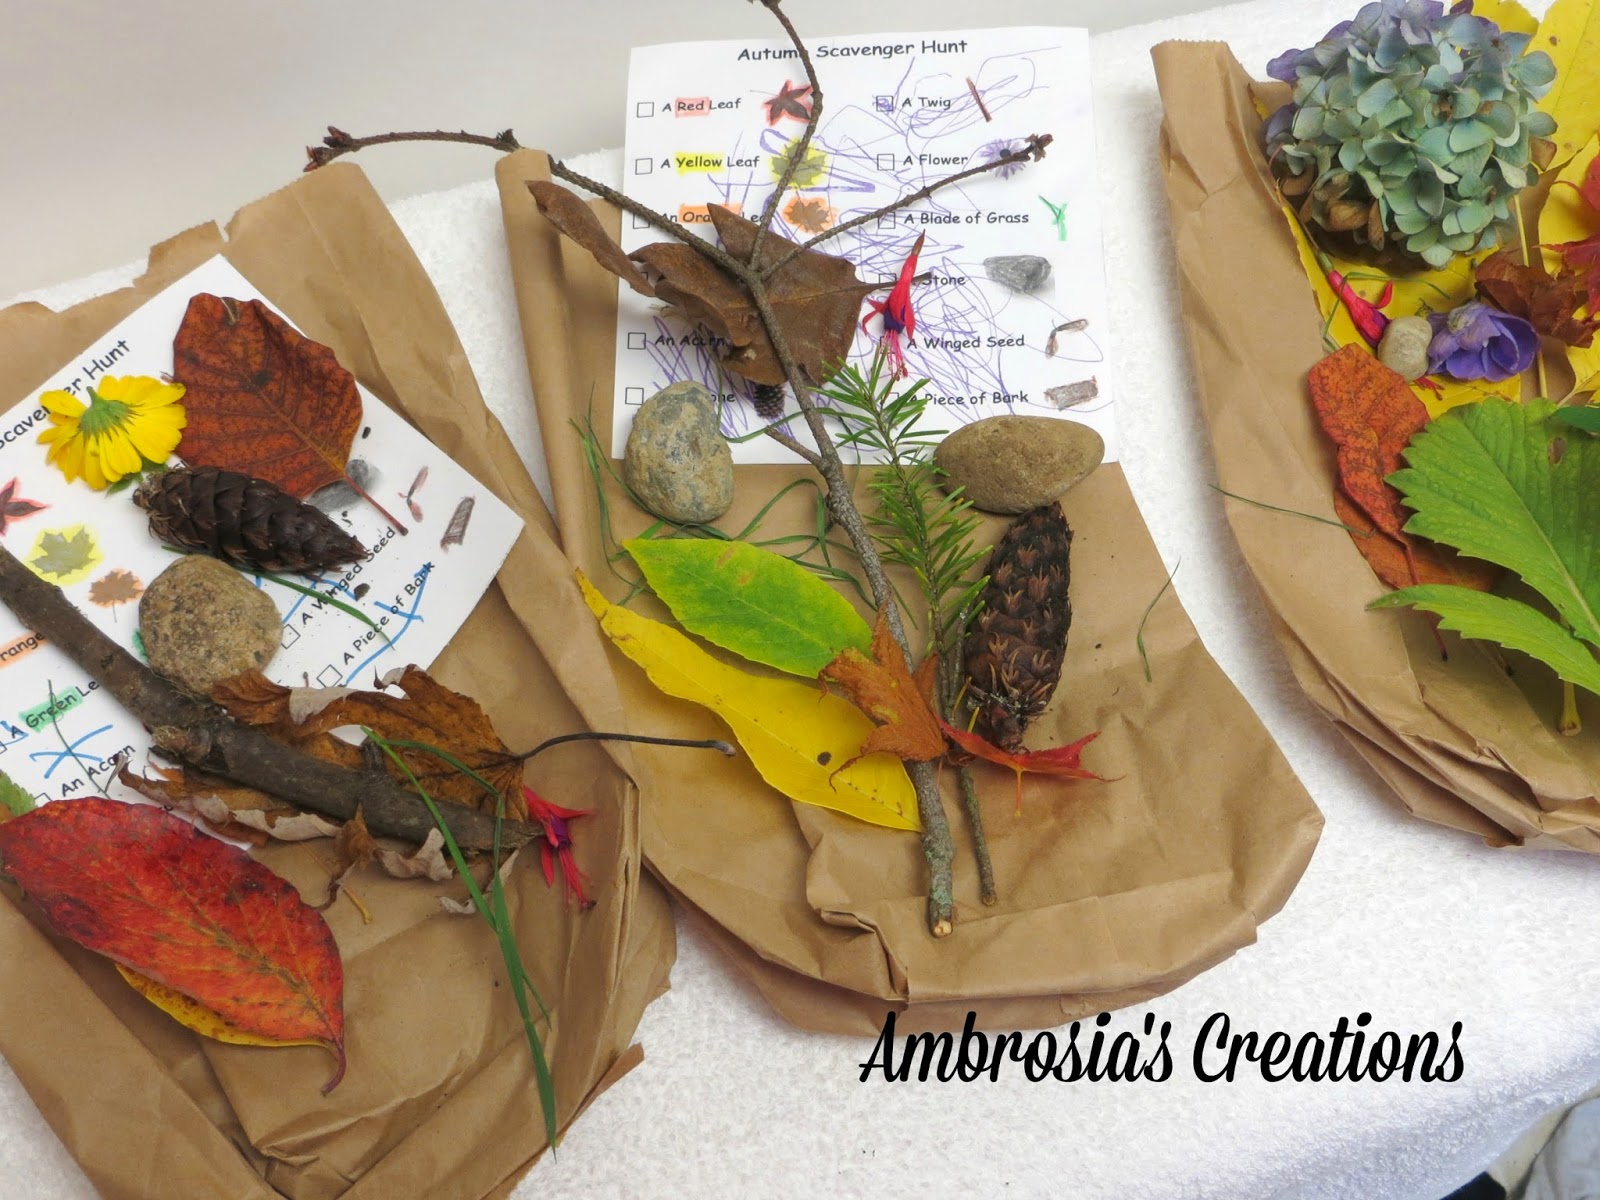
If you are a Facebook follower, you will know that we went on a scavenger hunt the other day!

You can find the list we used from From Chalkboards To Strollers here!


We had *SO* much fun running around the front and back yard trying to find everything.
As you can see, Little C is having more fun coloring her list :)


Pumpkin, our friendliest chicken, even joined in on the fun!


The hunt is complete:


The day after our scavenger hunt, we used all our pretty fall findings and made sun catchers with them!


Our supplies consisted of:
  • Scavenger hunt findings
  • Paper plates
  • Markers (or whatever you wish to color your plates with)
  • Scissors 
  • Laminate
I had the kids color the outside ring of their paper plates......


~~*~~*~~*~~*~~*~~*~~*~~*~~*~~


Once they were finished coloring, I cut out the center of the paper plates and two pieces of laminate for each plate.
The first piece of laminate I placed on the front with the sticky side facing the back of the plate.
 (You can do this either way, just make sure the front of your foliage is facing the front of your sun catcher!)

Next, we started placing our flowers, leaves and grass on the sticky part of the laminate, making sure everything was face down.
When you have filled your sun catcher up with the desired amount of foliage, put the second piece of laminate on the back side; keeping everything in place.

Finally, put them on display!!


Sunday, November 2, 2014

New Listing: Hippo Hooded Towel

I may have been away for a little while....
The computer was down (time for a new one!!)....... Then my baby boy turned 5!!
.......insert my tears.... and, of course, Halloween!!
But, to make it all up, I have come back with a new listing for the shop!!

The Hippo Hooded Towel!!
Get yours here in the Ambrosia's Creations Etsy shop today!!


Inspired by Repeat Crafter Me's crochet hippo hat, I created this hippo hooded towel for my daughter by sketching out a similar snout and teeth to Sarah's crochet version.
 (Get the FREE crochet pattern from Repeat Crafter Me here!!!)


My first sketches turned out much too big, but the second attempt was perfect!


I am quite pleased with how the final results turned out. Must have been all the practice with the turtle towels :)

I am searching for the perfect blue and hope to add a blue hippo soon!
Then ladybugs, butterflies, frogs, ......... 


Until then, here is my big 5 year old and his little sister at The Great Wolf Lodge for some birthday celebration!!  


Hope everyone is having a creative Sunday!

Monday, October 13, 2014

Ocean Waves Chevron Afghan - Pattern Details

The creation of this blanket came to mind when my neighbor was diagnosed with breast cancer. Their entire family have always been so nice to ours, so I felt like doing what I knew best..... creating something especially for her.

Her daughter told me that her favorite colors were blues and greens. I immediately thought of the ocean, even though it doesn't really seem ocean-esque, and went in search of a color palette and a chevron pattern that I saved in my Ravelry library a while back.


The pattern I used was Sunglasses Required by Jacqui Walker. I like how quickly the piece worked up with the color changes and my neighbor raved about the close stitches.

Most of the yarn I used was Michaels Loops & Threads Impeccable with one skein of Caron United and Vanna's Choice.
You will need 1 (one) skein of each colored yarn and 2 (two) skeins of white. I got the jumbo sized skein in white using the 50% off coupon and have LOTS leftover!

Supplies:


For my piece, I increased the starting chain just enough to make it more of a lap-ghan.


I continued with the pattern as originally written but created a different color scheme/pattern.

This blanket goes as follows:

Starting with the MC - 10 rows
 A through H - 4 rows each
MC - 8 rows
A through H - 4 rows each
MC - 8 rows
A through H - 4 rows each
MC - 10 rows

To finish the piece, instead of fastening off after my last row, I evenly hdc around the entire blanket, joining to the first hdc, fo, weave in ends


There it is! All wrapped up and ready to go! She's had it for a couple of weeks now and tells me she snuggles up to it every morning.


** This post contains affiliate links. **